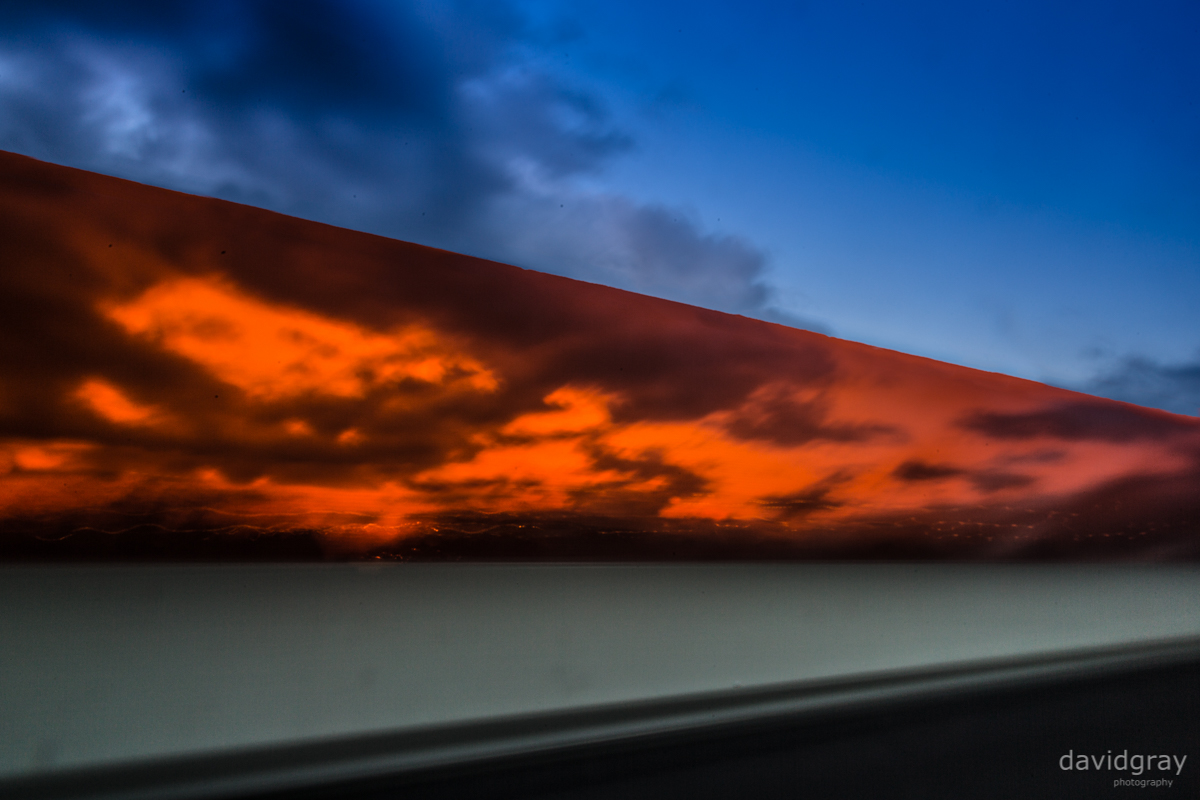
Today I travelled to Melbourne to visit my aunty, who was hosting a lunch for various family and extended family members. To get there, we had to travel along Eastlink, a tolled road that takes you to the south-eastern suburbs of Melbourne. Along the way, there are plenty of green and orange perspex panels that line the road, seemingly purely for decoration. Turns out that due to a parallax effect, they make a really neat long exposure photo!
So while I was passenger, hurtling along the freeway, I fished out of my bag a neutral density filter (which was part of a set I purchased from eBay. I plan to do a separate post on cheap filters later) and hand-held it over the top of my circular polarizer (which never leaves my lens, except in heavily overcast scenes). Then dropping the shutter speed down to two seconds, I wedged the camera between my hand, the window and the car’s interior, and did my best to hold it steady while bouncing around in the car.
Now that I had my base image, it needed some tweaking. There’s an awful lot of dust in the shot (I’m grabbing out my camera cleaning kit as we speak, so don’t panic!) so in Lightroom 5 I used the heal tool (go to Develop and click the tool that is a circle with an arrow pointing out) to just click on the spots to make them disappear. Then I exported into Photoshop CC. In there, I selected the top edge of the orange using the polygon selection tool, and used Content Aware Fill (Shift+F5) to rid of the blur and make it a solid edge:
There were some jagged edges, so using the clone tool (select the tool, hold Alt and click on a straight portion of your image) I “cloned out” the jagged pieces, leaving us with a super straight edge.
Finally, I took the image back into Lightroom and used the graduated filter (shortcut key: M) to make the sky a darker blue (for a nice complementary colour) and the orange pop a little more.
And there you have it. From bumpy-car-ride long exposure to abstract piece.


